Let’s Define Why Apple Pay and Google Pay Matter So Much for WooCommerce Conversion
The argument for wallet payments at WooCommerce checkout is not primarily about payment method preference – it is about checkout speed. The payment step is the last step in the WooCommerce purchase flow and the step with the highest abandonment rate. The difference in effort between the two most common mobile checkout paths is not incremental – it is dramatic.
The Mobile Checkout Speed Comparison
- Card entry on mobile WooCommerce: Customer arrives at checkout payment section. They open their wallet or locate their card. They type their 16-digit card number (with inevitable autocorrect interference on many phones). They type the expiry date. They type the 3-digit CVV. They type their billing zip code or full billing address if required. They tap Submit. On a phone keyboard, this process takes 45 to 90 seconds for a typical customer – longer if they make a typo and need to correct it.
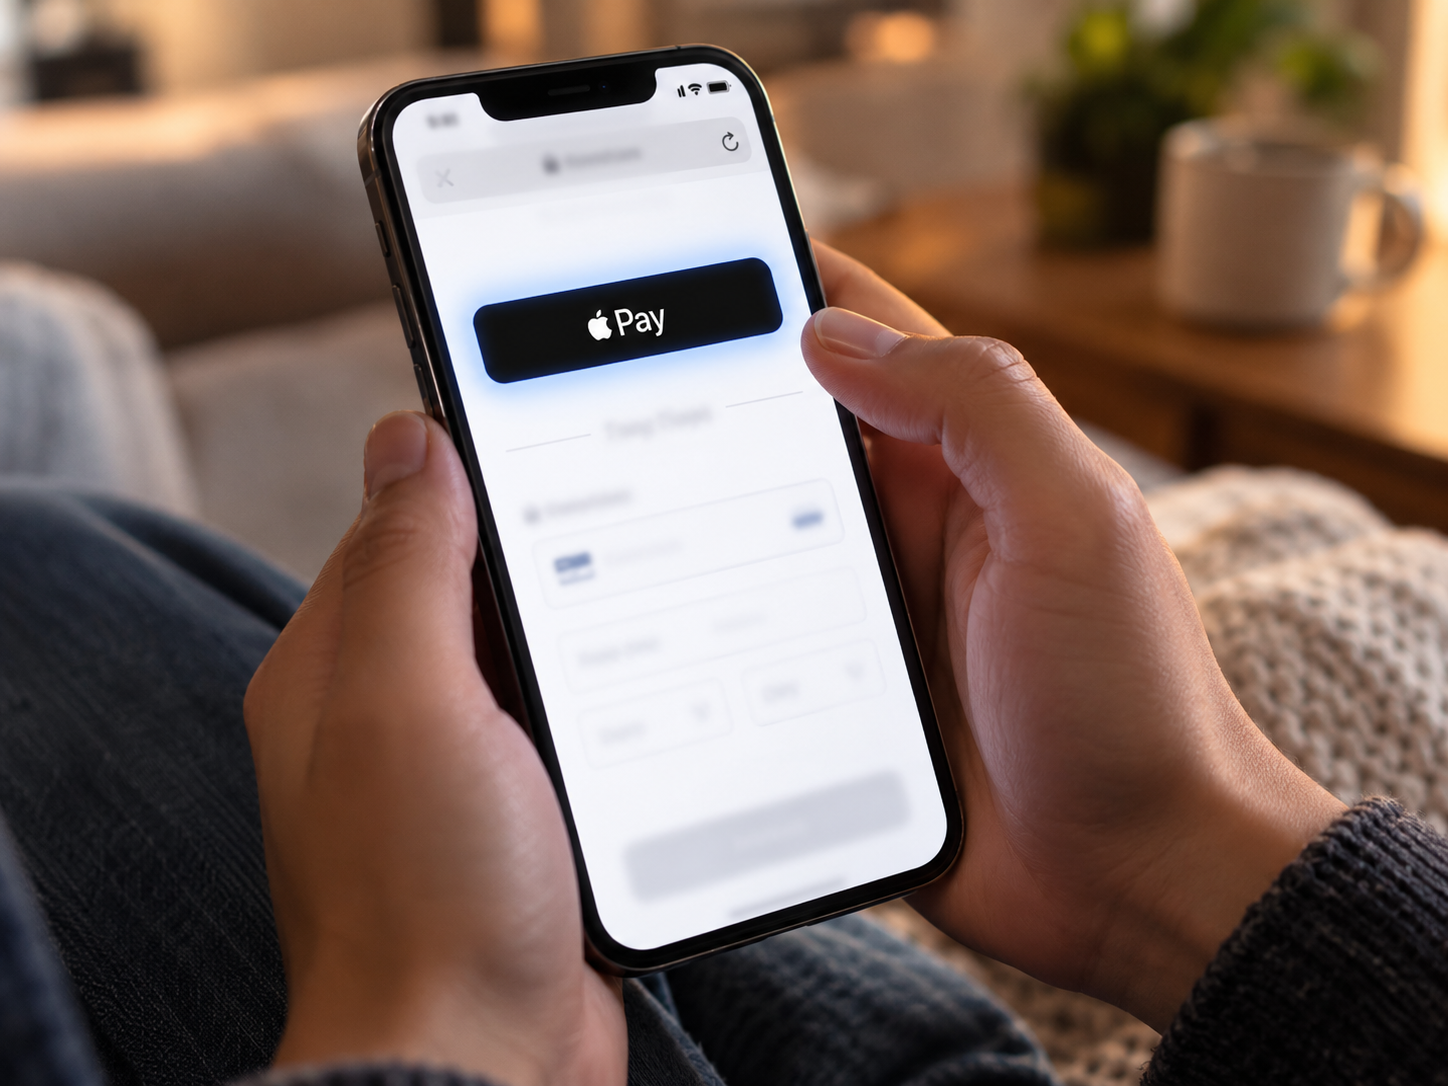
- Apple Pay on mobile WooCommerce: Customer arrives at checkout payment section. Apple Pay button appears at the top. Customer taps the Apple Pay button. iPhone shows the Apple Pay authentication prompt. Customer holds their face near the phone for Face ID (or double-clicks side button and uses Face ID). Payment is complete. Total time: 3 to 5 seconds from tap to payment confirmed.
- Google Pay on mobile WooCommerce: Identical experience on Android – one tap, fingerprint or face authentication, 3 to 5 seconds total.
The 85-second gap between these two experiences is the most direct, measurable cause of mobile checkout abandonment related to payment. A customer who taps Apple Pay and pays in 5 seconds had zero opportunity to reconsider. A customer who spends 90 seconds typing card details has many opportunities to be distracted, make a typo and get frustrated, or simply decide the purchase is not worth the effort.
The Fraud and Chargeback Reduction Benefit
Apple Pay and Google Pay use device-specific payment tokens rather than actual card numbers. When a customer authenticates an Apple Pay purchase with Face ID, they are confirming with their biometric that this is an authorized transaction. The card number the fraudster stole does not work for Apple Pay because Apple Pay requires the physical device and biometric authentication. The result:
- Chargebacks for “I did not authorize this transaction” are dramatically lower for Apple Pay and Google Pay transactions compared to manual card-not-present transactions
- For WooCommerce stores with elevated dispute rates, encouraging wallet payment adoption is one of the most effective dispute rate reduction strategies available without adding verification friction for legitimate customers
- Apple Pay and Google Pay transactions are classified as card-present-equivalent for some interchange purposes, which can affect interchange rates under interchange-plus pricing
The Saved Card Convenience Benefit for Returning Customers
A WooCommerce customer who paid with Apple Pay on their previous visit does not need to re-enter any payment details on their next visit – Apple Pay authenticates against the device and card on file automatically. The checkout experience for a returning Apple Pay customer is: arrive at checkout, tap Apple Pay, authenticate, done. No account creation required, no saved card management in WooCommerce, no password for a stored card. This frictionless returning-customer experience drives repeat purchase rates in ways that are difficult to achieve with card-only WooCommerce checkouts.
Here’s What “Auto-Renders” Actually Means for Apple Pay and Google Pay on WooCommerce
When Coastal Pay’s WooCommerce plugin is installed and Apple Pay and Google Pay are enabled in the plugin settings, both wallet payment buttons appear automatically at checkout for customers on compatible devices and browsers – without any additional code, template changes, or developer customization. Understanding exactly what “auto-renders” means prevents confusion during testing.
Apple Pay Auto-Render Conditions
The Apple Pay button appears at WooCommerce checkout when ALL of the following are true simultaneously:
- The customer is using Safari browser (Apple Pay Web does not work on Chrome, Firefox, or other browsers on iOS or macOS)
- The customer is on an Apple device (iPhone, iPad, Apple Watch paired to iPhone, or Mac with Face ID/Touch ID)
- The customer has at least one card set up in Apple Wallet on their device
- Your WooCommerce checkout is served over HTTPS (the padlock icon appears in the browser address bar)
- Apple Pay is enabled in your Coastal Pay plugin settings
- Your domain is verified with Apple through Coastal Pay’s gateway domain registration process
When any of these conditions is not met, the Apple Pay button simply does not appear. The standard card entry form appears instead. The customer is not blocked from purchasing – they just see the standard checkout. This is expected and correct behavior.
Google Pay Auto-Render Conditions
The Google Pay button appears at WooCommerce checkout when ALL of the following are true:
- The customer is using Chrome, Edge, or a Chromium-based browser
- The customer has a payment method saved in their Google account (Google Pay)
- Your WooCommerce checkout is served over HTTPS
- Google Pay is enabled in your Coastal Pay plugin settings
What the WooCommerce Checkout Looks Like With Both Enabled
With Coastal Pay configured and both wallet methods enabled, the WooCommerce checkout payment section displays in this order for mobile customers:
- Apple Pay button at the very top of the payment section (on iPhone/Safari) OR Google Pay button (on Android/Chrome) – one prominent button, no scrolling required
- “Or pay with card” separator line below the wallet button
- Coastal Pay hosted fields card entry form (card number, expiry, CVV, billing zip) below the separator
- Any additional enabled payment methods (Klarna, Afterpay, Venmo, ACH) below the card form
This layout presents the fastest, lowest-friction option first. Customers who have Apple Pay or Google Pay available see it immediately and can tap to pay without scrolling. Customers who prefer card entry can scroll past the wallet button to the card form. The ordering maximizes wallet adoption without removing the card option for customers who prefer it.
Here’s How to Add Apple Pay and Google Pay to WooCommerce – Step-by-Step
Step 1: Get Your Coastal Pay Merchant Account (2 Minutes)
Visit coastalpay.com/contact-us or call 888-266-1715. Most standard-risk U.S. e-commerce businesses are approved in approximately 2 minutes. Upon approval, log into the Coastal Pay Gateway dashboard. Navigate to API Settings. Copy your API key and note your merchant ID – you will need both for the WooCommerce plugin configuration step.
Step 2: Confirm Your WooCommerce Store Runs on HTTPS
Before installing anything, verify that your WooCommerce checkout page is served over HTTPS. Open your checkout page in a browser and look for the padlock icon in the address bar. If you see a padlock, your site is on HTTPS. If you see “Not Secure” or a warning indicator, contact your hosting provider about installing an SSL certificate before proceeding. Apple Pay’s Web Payment Request API will not function without HTTPS, regardless of gateway configuration.
Step 3: Install the Coastal Pay WooCommerce Plugin
In your WordPress admin, go to Plugins – Add New. Type “Coastal Pay” in the search field. When the plugin appears, click Install Now and then Activate. The plugin is now visible in WooCommerce – Settings – Payments. If the plugin does not appear in the WordPress plugin directory search, contact 888-266-1715 for the direct plugin download and manual upload instructions.
Step 4: Configure API Credentials in the Plugin Settings
In WordPress admin, navigate to WooCommerce – Settings – Payments. Click on Coastal Pay (or the Manage button next to it) to open the plugin configuration screen. Enter your API key in the API Key field. Enter your merchant ID in the Merchant ID field. These credentials are found in your Coastal Pay Gateway dashboard under API Settings. Do not share your API key with anyone – keep it in the plugin settings only.
Step 5: Enable Apple Pay and Google Pay in the Plugin
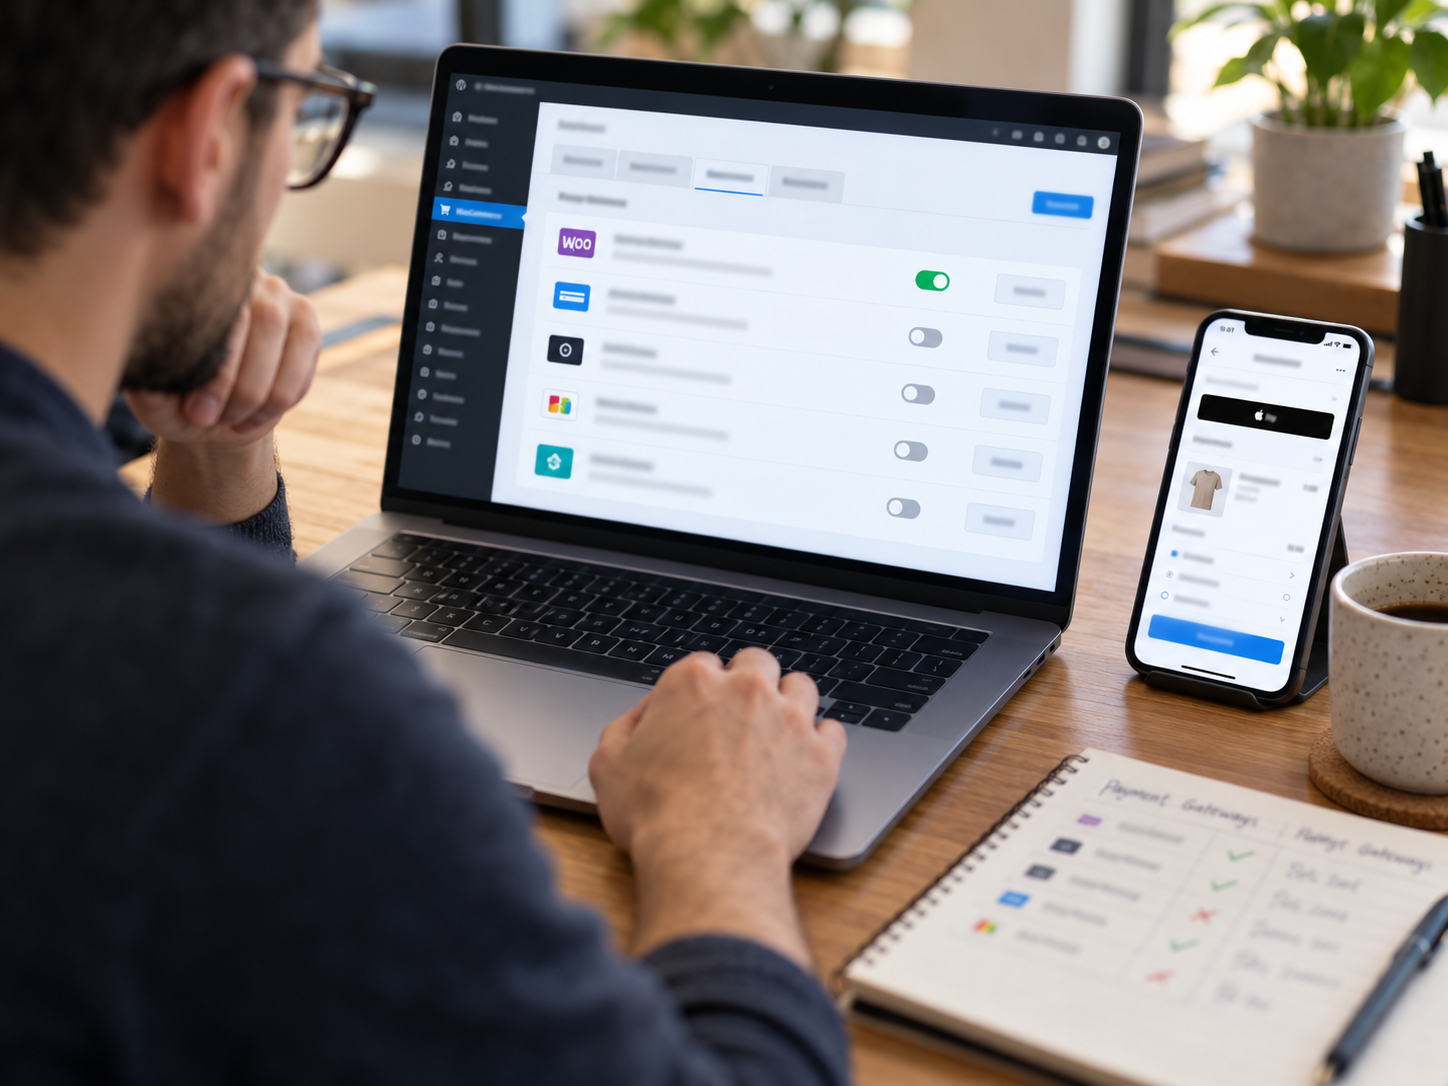
Still in the Coastal Pay plugin settings, scroll to the Payment Methods section. You will see a list of available payment methods with toggle switches. Toggle Apple Pay to enabled. Toggle Google Pay to enabled. Enable any other payment methods you want at WooCommerce checkout: Klarna, Afterpay, Venmo, ACH. Save settings.
Step 6: Apple Pay Domain Verification (Handled Automatically)
Apple requires merchants to verify domain ownership before Apple Pay can function on their website. This involves placing a specific verification file in the /.well-known/ directory of your web server. The Coastal Pay WooCommerce plugin handles this verification process automatically during initial configuration – it creates the required verification file and initiates the domain registration with Apple’s payment network without requiring any manual server access.
If you see an error during checkout related to Apple Pay domain verification, call 888-266-1715 immediately. Domain verification issues are the most common Apple Pay setup problem and are resolved in a single support call in almost all cases.
Step 7: Test Apple Pay in Sandbox Mode
Set the Coastal Pay plugin to Test mode. On a real iPhone using Safari – not a browser developer tools device simulation, which does not support Apple Pay – navigate to your WooCommerce checkout page with a product in the cart. Confirm the Apple Pay button appears at the top of the payment section. Use a Coastal Pay sandbox test payment method to complete a test Apple Pay transaction. Confirm the order appears in WooCommerce and in the Coastal Pay Gateway dashboard. Confirm the order confirmation email delivers correctly.
On an Android device in Chrome (with a card saved in Google Pay), navigate to the same checkout page and confirm the Google Pay button appears.
Step 8: Switch to Live Mode and Verify
Switch the Coastal Pay plugin from Test to Live mode. Save. On your iPhone, complete a real Apple Pay transaction for $1.00 to confirm the full production payment flow. Verify the transaction settles to your bank account on the expected 1 to 2 business day timeline. Both Apple Pay and Google Pay are now live for all compatible customer devices visiting your WooCommerce store.
What Happens After an Apple Pay Purchase on WooCommerce
From the WooCommerce store owner’s perspective, an Apple Pay order looks identical to a standard card order:
- New order appears in WooCommerce – Orders with payment method noted as “Apple Pay via Coastal Pay” or similar gateway label
- Order details include billing and shipping information passed from Apple Wallet (name, email, shipping address selected in the Apple Pay sheet)
- Payment status shows as “Processing” and updates to “Completed” when the merchant marks the order fulfilled
- WooCommerce inventory decrements automatically as with any other order type
- Transaction appears in the Coastal Pay Gateway dashboard as a standard card authorization
- Settlement occurs on the 1 to 2 business day standard timeline
- Customer receives WooCommerce order confirmation email automatically
- WooCommerce order number can be used as a reference for any customer support inquiries about the Apple Pay purchase
No special order processing steps are required for Apple Pay or Google Pay orders. They flow through the same WooCommerce order management pipeline as standard card orders – with the additional fraud protection benefit of biometric authentication that reduces dispute rates on these transactions.
Troubleshooting: Why Apple Pay Might Not Be Appearing at Your WooCommerce Checkout
Apple Pay not appearing at WooCommerce checkout is almost always caused by one of five specific conditions. Work through this checklist before calling support:
Checklist: Why Apple Pay Is Not Appearing
- You are testing on Chrome or Firefox, not Safari: Apple Pay Web only functions in Safari. If you are testing on a non-Safari browser, the button will not appear regardless of plugin configuration. Test exclusively in Safari on an Apple device.
- Your WooCommerce checkout is not on HTTPS: Check the address bar for the padlock icon. If missing, contact your hosting provider about SSL before troubleshooting anything else.
- No card is set up in Apple Wallet on the test device: Open the Wallet app on the iPhone and confirm at least one card is added. Apple Pay will not appear if no cards are in Wallet, even on HTTPS Safari.
- Apple Pay domain verification did not complete during plugin setup: This is the most common issue in fresh installs. The plugin attempts domain verification automatically, but hosting configurations sometimes prevent the verification file from being written correctly. Call 888-266-1715 – the support team checks domain verification status for your specific domain and resolves it in the same call.
- Apple Pay is not toggled on in the Coastal Pay plugin settings: Return to WooCommerce – Settings – Payments – Coastal Pay and confirm Apple Pay is enabled. It is a separate toggle from enabling the Coastal Pay gateway itself.
If you have checked all five items and Apple Pay still does not appear, call 888-266-1715. The Coastal Pay support team has a diagnostic checklist for Apple Pay WooCommerce issues that resolves the vast majority of cases in a single call.
Does Apple Pay on WooCommerce Work With WooCommerce Subscriptions?
Yes, with an important clarification. Apple Pay and Google Pay at WooCommerce checkout work for the initial subscription purchase. The initial payment is processed via Apple Pay and Coastal Pay tokenizes the underlying card – storing the card token against the subscriber’s customer profile in the Coastal Pay vault. Subsequent recurring billing charges process against the stored token directly, without requiring the subscriber to re-authenticate with Apple Pay on each renewal.
This means Apple Pay is the fastest, most frictionless way for new subscribers to enroll in a WooCommerce subscription – they authenticate once at signup and every subsequent billing cycle runs automatically against the stored token. Contact 888-266-1715 to confirm the specific Apple Pay recurring billing configuration for your WooCommerce Subscriptions setup.
Explore Apple Pay, Google Pay, and all Coastal Pay payment methods, WooCommerce integration, and flat 2.5% + $0.15 all-methods rate.
Add Apple Pay and Google Pay to WooCommerce Today
Call for setup support: 888-266-1715
Frequently Asked Questions
- How do I add Apple Pay to WooCommerce?
- Install the Coastal Pay WooCommerce plugin, enter API credentials in WooCommerce Settings – Payments – Coastal Pay, toggle Apple Pay to enabled, and confirm your WooCommerce checkout is on HTTPS. The Apple Pay button auto-renders at checkout for eligible customers with no additional developer work. Contact 888-266-1715 for setup assistance if the button does not appear after configuration.
- Does accepting Apple Pay on WooCommerce cost more?
- With Coastal Pay, no. Apple Pay and Google Pay transactions process at the same flat 2.5% + $0.15 as all card payments. No wallet premium, no separate monthly activation fee per method. Some gateways charge a different rate for wallet payments – always verify before assuming the quoted rate applies equally to all payment methods.
- Why is Apple Pay not showing on my WooCommerce checkout?
- Most common causes: (1) Testing on Chrome instead of Safari – Apple Pay Web requires Safari. (2) WooCommerce checkout is not on HTTPS. (3) No card in Apple Wallet on the test device. (4) Apple Pay domain verification did not complete during plugin setup. Call 888-266-1715 for a diagnostic check – the support team resolves Apple Pay display issues in a single call for most WooCommerce configurations.
- What is the difference between Apple Pay and Google Pay on WooCommerce?
- Apple Pay works on Apple devices in Safari. Google Pay works on Android devices in Chrome. Both provide the same one-tap biometric checkout experience – 3 to 5 seconds versus 45 to 90 seconds for manual card entry on mobile. Both process at Coastal Pay’s flat 2.5% + $0.15. Enabling both through the Coastal Pay plugin ensures every mobile customer gets the fast wallet checkout regardless of device.